OneAdvanced Identity - Setting Up EasyPass as an End User

Overview
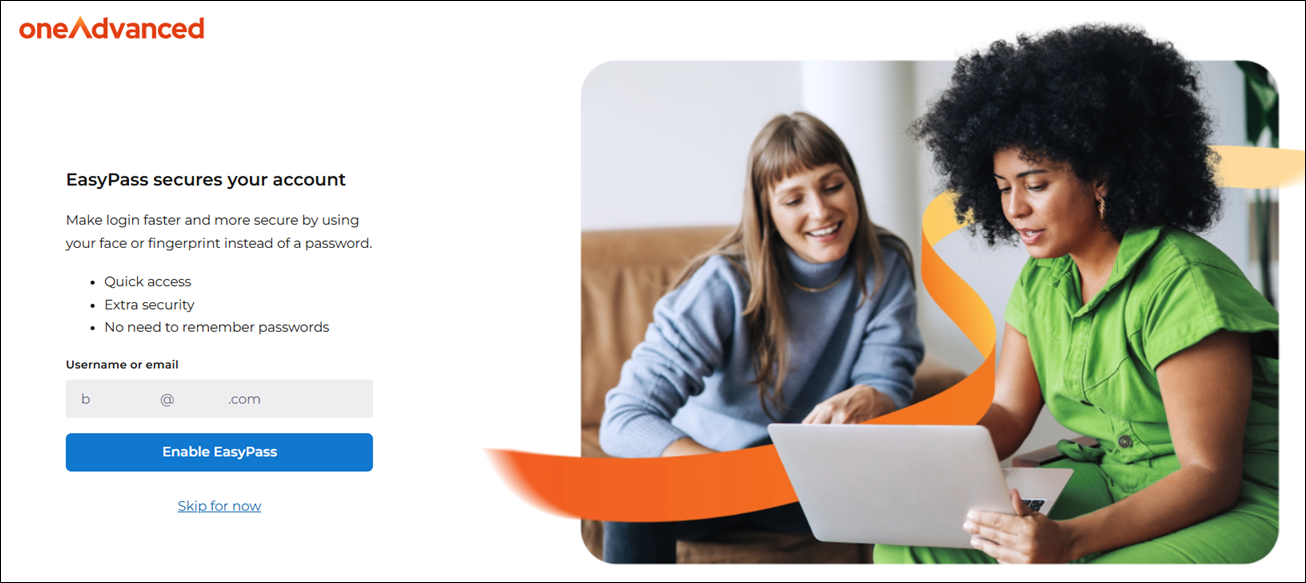
When EasyPass is enabled for a user by an Admin, the user can set it up when they next login using OneAdvanced Identity.
This will allow the user to setup the passkey they wish to use, with the device they want to use.
Full Guidance
For further EasyPass guidance, check out the full guidance.
Setting up EasyPass on the First Login
If the user is brand new and has never logged into ePortfolio, or any other application, using OneAdvanced Identity, then the user will need to set up their password as usual.
After the password is setup, then the user is prompted to setup EasyPass. The user can choose to skip, at which point they would then need to setup another MFA method to login.
Using EasyPass on a Repeat Login
When a user has already setup their credentials in OneAdvanced Identity and is logging in as part of their usual tasks, then the user will need to provide their email address or username as standard. They will then be asked to log in with EasyPass, at which point they will use the method they themselves have setup.
Setting up a Passkey using iPhone
If the user's iPhone has Touch ID or Face ID, then they can use their iPhone to set up the passkey used by EasyPass.
If the user is logging in via OneAdvanced Identity on their phone, when they select 'Enable EasyPass', then iOS will ask the user if they wish to save the passkey within the default Passwords app or via their installed authenticator, such as the Microsoft Authenticator App. It is recommended the user saves the passkey in the app they most often use.
After the app is chosen, if the user's device uses Touch ID, then they will be prompted to scan their fingerprint. After scanning their fingerprint, then the passkey is saved.
If the user's device uses Face ID, then their face will be scanned and the passkey will be saved.
Once the passkey is saved, then EasyPass has been setup.
Setting up a Passkey using Android
To enable and store passkeys on your Android device, follow these steps:
- Open the Settings app.
- Search for "passkeys" and select General Management from the results.
- Tap on Passwords, passkeys, and autofill.
- Enable your preferred Credential Manager or Passkey Manager under All services.
Ensure that all necessary services are activated before creating a new passkey. - When prompted during passkey creation, tap More options, then select Save another way to choose your preferred storage location.
If the user is logging in via OneAdvanced Identity on their phone, when they select 'Enable EasyPass', then Android will store the passkey in the configured location.
If the user's device uses Fingerprint scanning, then they will be prompted to scan their fingerprint. After scanning their fingerprint, then the passkey is saved.
If the user's device uses Facial Recognition, then their face will be scanned and the passkey will be saved.
Once the passkey is saved, then EasyPass has been setup.
Setting up a Passkey using Windows
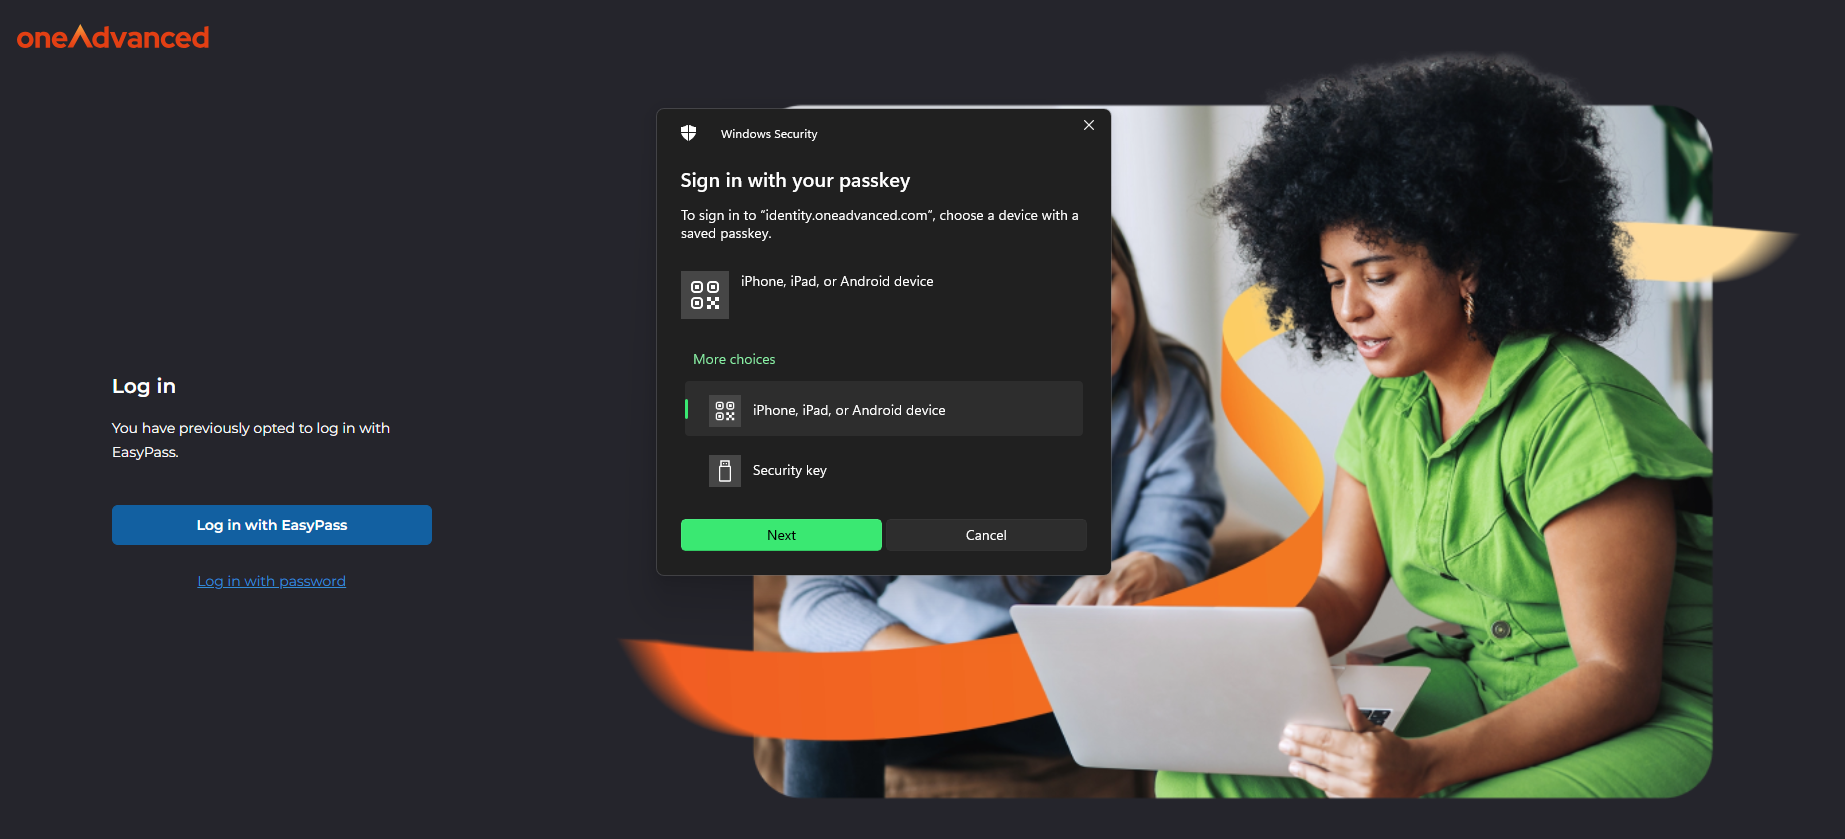
If the user is setting up EasyPass for the first time from a desktop web browser, they can create a passkey either using their mobile device or directly within Windows itself.
When the user is prompted to enable EasyPass, they can choose to use 'iPhone, iPad or Android device'. This will generate a QR code that they can scan with their mobile device. The steps outlined for their type of device above can then be followed.
Please note, it is not recommended in any capacity that when the QR code is generated for a user, that another user scans the code. The QR code is unique to each user. If another user (for example, a Tutor trying to assist a Learner on their first login) scans the QR code, then it is recommended that both the Tutor and Learner have their MFA reset by the Admin.
Alternatively, the user can select an option for their Windows device. If their Windows device supports Facial Recognition or Fingerprint scanning, then these can be selected. A user can also set up a PIN if they choose not to use biometric data.
When setting up a passkey via Windows, the passkey will be stored against the user's Windows credentials. Therefore, it is not recommended a user sets up a Passkey whilst using a shared login to a Windows device.
Using a Passkey from a Phone on a Windows PC
If the user has setup EasyPass on their mobile device, it can still be used to login to a desktop browser.
When the user is logging into their ePortfolio and are prompted to login via EasyPass, they can choose the option for their device, which generates a QR code.
When the user scans the QR code with their own mobile device, then they will be prompted to either scan their face or fingerprint in line with how they configured EasyPass.
Once they have authenticated via their mobile device, then their desktop session automatically refreshes.