Standards and Qualifications Module - USER MANAGEMENT
 Updated

STANDARDS and QUALIFICATIONS MODULE - User Management Module
The User Management Module is designed to enable tenant administrators to manage users of the tenant by creating user groups, inviting users, and assigning specific permissions to each group.
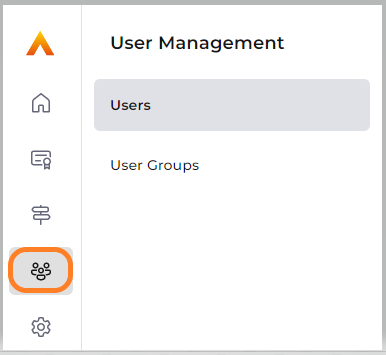
User Management can be accessed via the User Management option in the side bar and selecting this option will display the User Management sub menu.
Logging in
To gain access to the Standards and Qualifications module, you need to have your account activated by our support team - please raise a ticket with the support desk for this.
To log in to the Qualifications module, navigate to https://app.smartskillshub.co.uk/ . If you need help setting up your account, please contact our support desk.
Managing Users
View Users in Tenant
To add new users to your tenant or manage existing users, select the Users option in the User Management sub menu.
This page will display a table showing all existing users’ names and email addresses.
You can search for a user by entering their details in the search bar. This is a smart search so the table will be filtered automatically as you type the details in the search bar.
Add New Users to Tenant
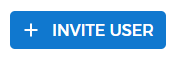
To invite a new user to the product, select the Invite Users button.
This will open a dialog. Enter a valid email address or multiple email addresses separated with a semi colon in the field and select Send.
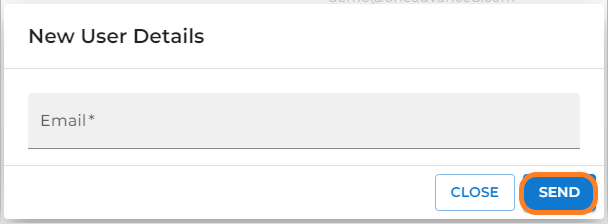
This will trigger an email invitation to the users that you have invited in which they will be given a temporary password and a link to the login page. The new users will be required to reset the temporary password on first login.
The new users’ details will automatically appear in the table with the email address displayed in both the Name and Email columns.
Please Note: For the new user to use the system, they must be added to a User Group with the relevant permissions. This is covered in the User Group section of this guide.
Manage Existing Users
Within the Actions column at the end of each row in the Users’ table, you will see the 3 dots Action Menu. Select the 3 dots to see the actions available for that user.
Choose the Remove user option to remove the selected user from the tenant. This action is only available to a Tenant Admin.

A warning dialog will appear. Select Cancel to stop the action and keep the user or select Remove to confirm your choice and remove the user.
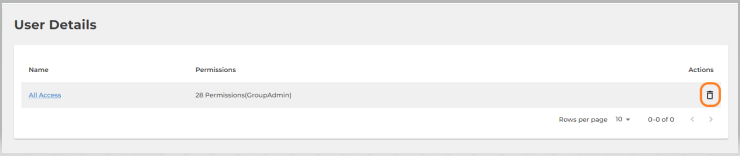
Click the username to see additional details about the selected user. This will display the following details:
- Email address
- Display name
- User groups (that the user has been added to)
Select the delete icon to remove the user from that user group. A warning dialog will appear. Select Cancel to stop the action and keep the user in the group. Select Remove to confirm your choice and remove the user from the group.
Creating User Groups
Add New User Groups
To add new User Groups or manage existing User Groups, select the User Groups option in the User Management sub menu.
Smart Products Release 25th November 2022
View User Groups in Tenant
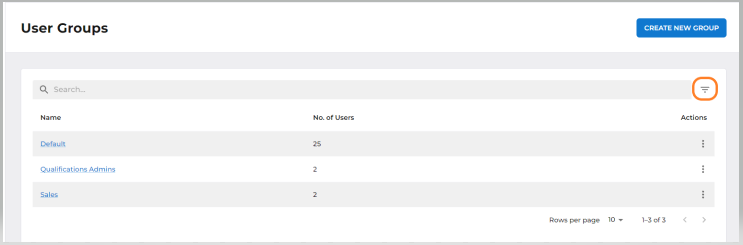
The page will display a table showing all existing User Groups’ names, the Number of Users in the User Group, and an Action Menu.
Select the filter list icon to filter or sort the User Groups.
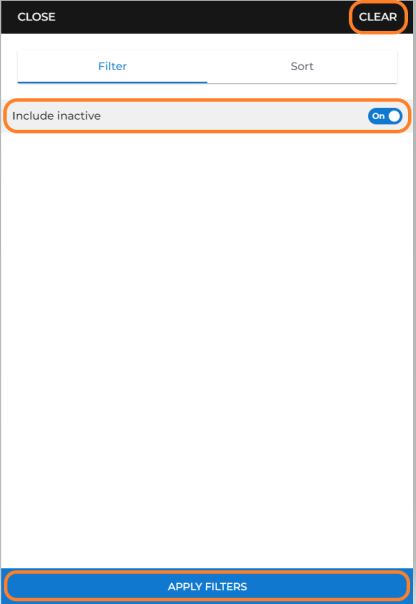
To filter the table, you can filter by active and inactive groups by selecting the appropriate radio button. Select Apply Filters to close the modal and view the filtered User Groups table. Select Clear to clear any changes you have made to the default filters.
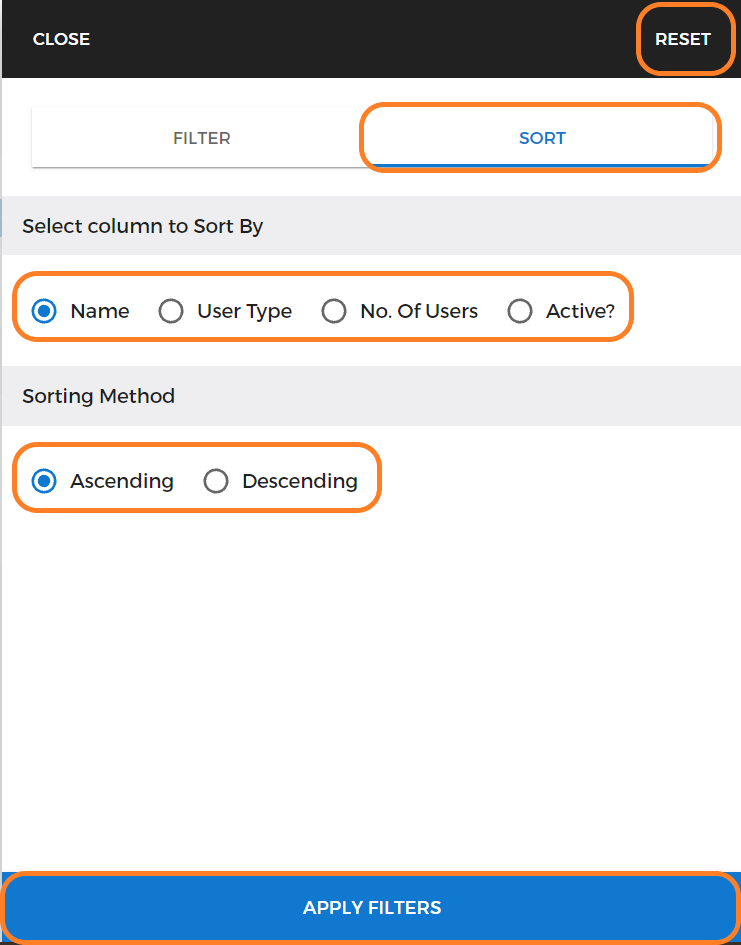
To sort the table, select the Sort option in the filter modal.
First select the column you want to apply the sort to by selecting the appropriate radio buttons, this defaults to Name. Then select the sorting method that you want to apply to that column by selecting the appropriate radio buttons, this defaults to Ascending.
Select Apply Filters to close the modal and view the User Groups table with the sort applied.
Select Reset to clear any changes you have made to the default sort options.

You can search for a User Group by entering their details in the search bar. This is a smart search so the table will be filtered automatically as you type the details in the search bar.
Create a New Group
To create a new user group, select the Create a New Group button.

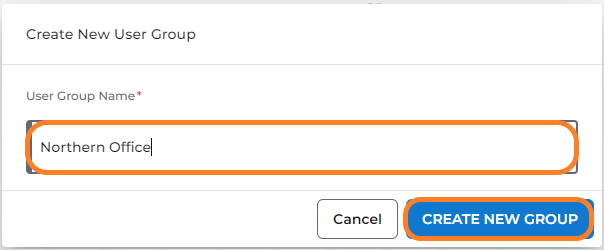
This will take you to the create user group modal.
Enter a name for the new User Group in the User Group Name field and select Create New Group to create this new User Group.
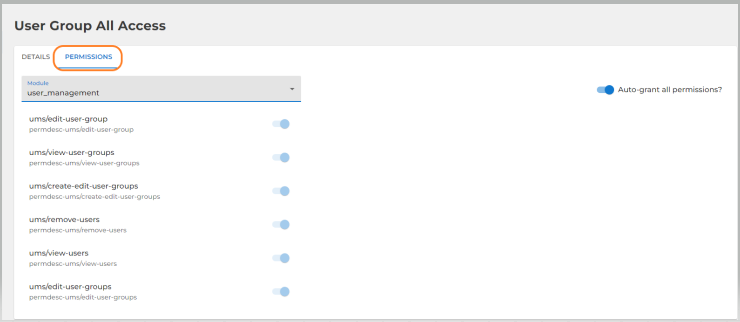
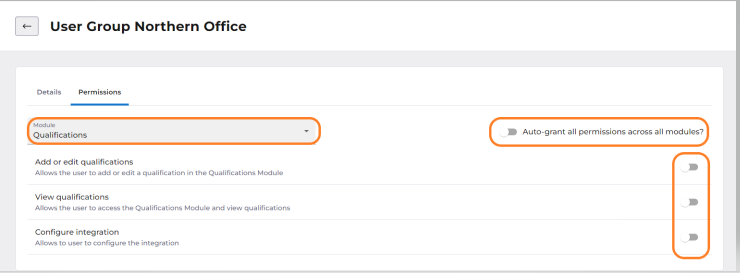
This will navigate you to the permissions area. A User Group must have permissions enabled in order for the members of that User Group to access the various areas of the system. No permissions are applied to a new User Group by default.
If desired, you can select the toggle switch to grant all permissions for all the available modules to this User Group.
Alternatively, select the name of the individual module and then toggle each individual permission within that module as appropriate for the User Group that you are creating.
These permissions are automatically applied to the group so you can navigate away from this page once you have set the correct permissions for the group.
Manage Existing User Groups
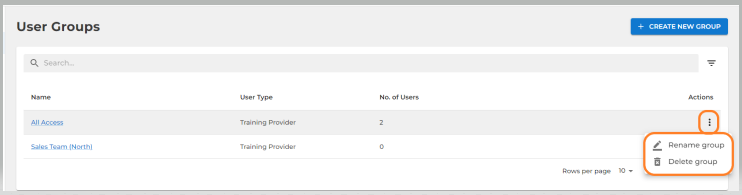
Within the Actions column at the end of each row in the User Groups’ list, you will see the Action Menu. Select the 3 dots to see the actions available for that User Group.
Choose the Rename group option to rename the selected User Group.
This will open a dialog allowing you to amend the User Group name in the text field. Select Cancel to cancel any changes you have made and close the modal. Select Rename to save your changes and close the modal.
Choose the Delete group option to remove the selected User Group from the system. A warning dialog will appear. Select Cancel to stop the action and keep the User Group. Select Confirm to confirm your choice and remove the User Group.
Add Users to a User Group
Click on the name of the group to view the members of the group and add or remove users.
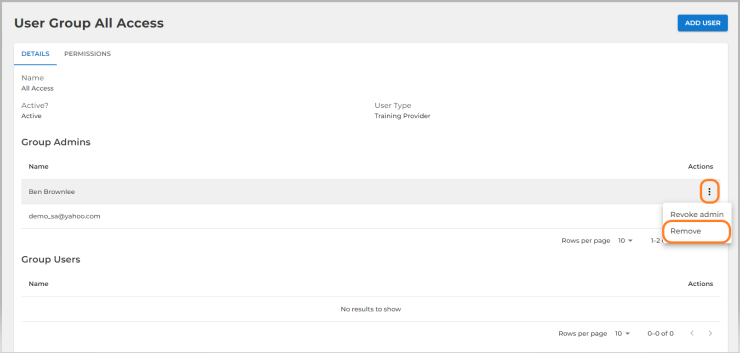
Here you will see a section for Group Administrators and a section for Group Users.
Existing members of the group will be displayed in the appropriate section.
You can select the Action Menu of a user followed by the Remove option to remove the selected member from the group.
A warning modal will appear. Select Cancel to stop the action and keep the user as a member of the User Group. Select Remove to confirm your choice and remove the user as a member of the User Group.
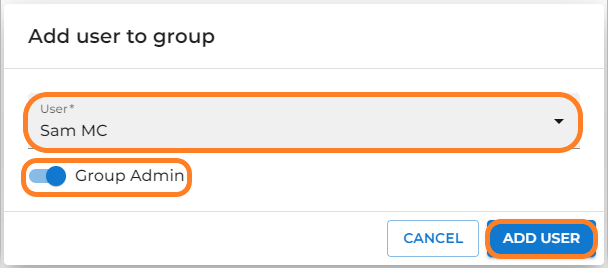
Select the Add Users button to add users to the appropriate section of the User Group.

Select the users that you want to add from the multi-select drop-down menu in the user field. You can start typing the name of the user that you want to add to filter the list of available options.
If you want to add the users as Group Admins, set the Group Admin toggle to true. To simply add them as Group Users, set the toggle to false. Group Admins can add and delete users within the group and give or revoke admin rights, whereas Group Users are not able to make these changes. Only tenant admins can make changes to the permissions of a group.
To remove admin permissions from a user, select Revoke Admin from the Action Menu for that user.
To grant admin permissions to a user, select Grant Admin from the Action Menu for that user.
Choose the Group permissions tab to view and manage the permissions associated with the group as described previously.