Creating Custom Qualifications
 Updated

Logging in
To gain access to the Standards and Qualifications module, you need to have your account activated by our support team - please raise a ticket with the support desk for this.
To log in to the Standards and Qualifications Module, navigate to https://app.smartskillshub.co.uk/ . If you need help setting up your account, please contact our support desk.
Creating a Custom Qualification
In this article we will show you how to create custom qualifications in the new Standards and Qualifications Module, an import these into Smart Assessor.
This requires the permission Create/Edit Qualifications
Getting Started
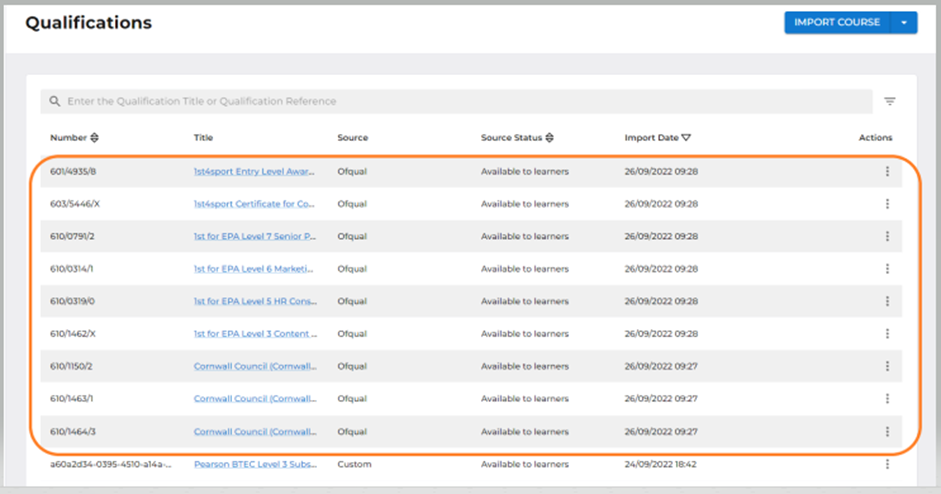
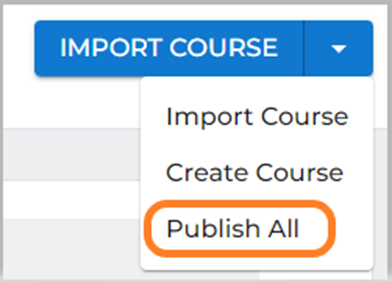
From the Qualifications list page, select ‘Create Course’ from the ‘Import Course’ dropdown.

This will take you to the ‘Create Course’ Screen where you can add the Qualification details and select ‘Create’.
This takes you to the ‘Details’ screen which will display the information that you have added.
The Qualification status will be displayed as ‘Draft’ because you are still creating the Qualification and cannot export the Qualification until completed.
‘Is off the Job’ will default to ‘No’ but you can change this in edit mode.
Entering ‘Edit’ mode will also display some additional fields that you can optionally complete. If these are not completed, they will not be displayed when you come out of edit mode.

Select ‘Edit’ and the information that you have added will become editable and additional fields can be completed.
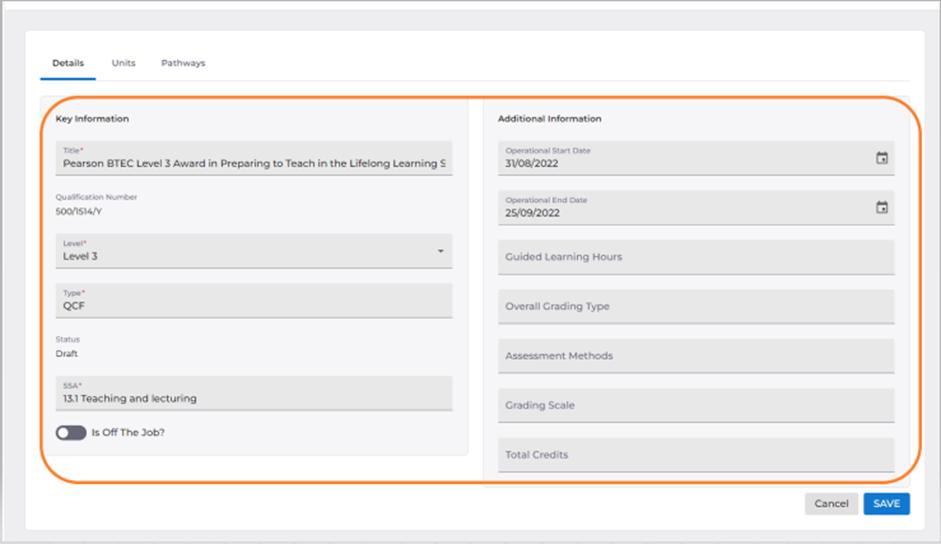
Having made any changes needed, select ‘Save’.
Adding Units to a Custom Qualification
Select the ‘Units’ tab and here you can create a unit from scratch or link a unit that already exists.
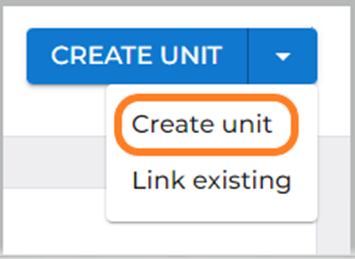
To add a new unit, select ‘Create unit’ from the ‘Create unit’ dropdown.
This will open a tray where you will need to add:
- Unit title
- Unique reference number
- Unit code
- Level
Having added these details, click ‘Save’ and the unit will be added to your Qualification. There are also edit and delete options for any units that you add.
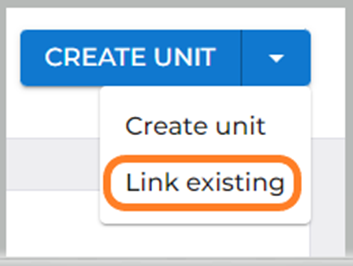
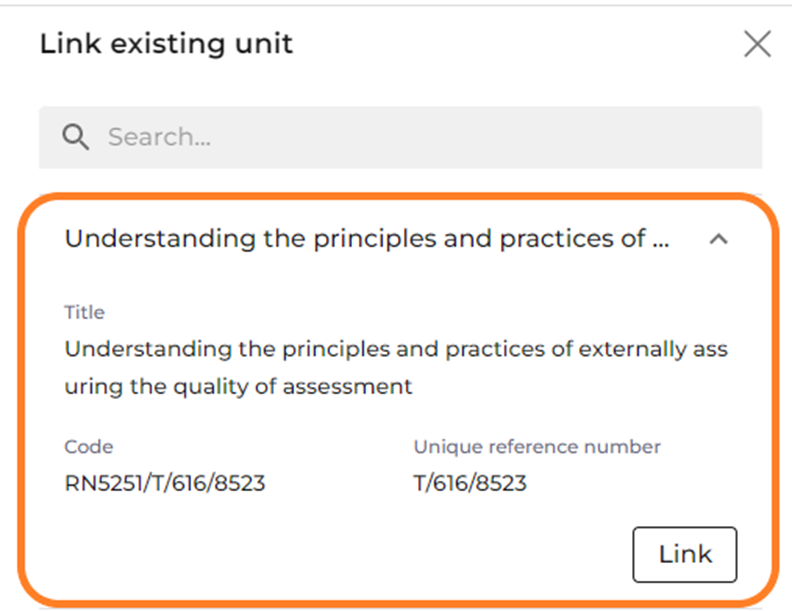
To link an existing unit, select ‘Link existing’ from the create unit dropdown
This will open a tray where you can search for a unit using:
- Title
- Unique reference number
- Unit code
Each search result will be in an accordion that can be expanded to display the title, unique reference number, and unit code of the unit code to enable you to clarify that you have selected the correct unit. Clicking the ‘Link ‘ button will link the unit to your Qualification.
Once the unit is added to your Qualification, it will have a delete option, should you wish to remove it.
Units will appear exactly as they do for Ofqual imported Qualifications (see Qualification Units)
To edit a unit, click on the unit name and then click on the edit icon in the unit details page. All fields that can be edited will then become editable. Once changes have been made, click on the ‘Save’ button.
Learning Outcomes
Each unit will have its own ‘Learning Outcomes’ tab. Here you can add learning outcomes by selecting ‘Add Outcome’ at the top of the screen.
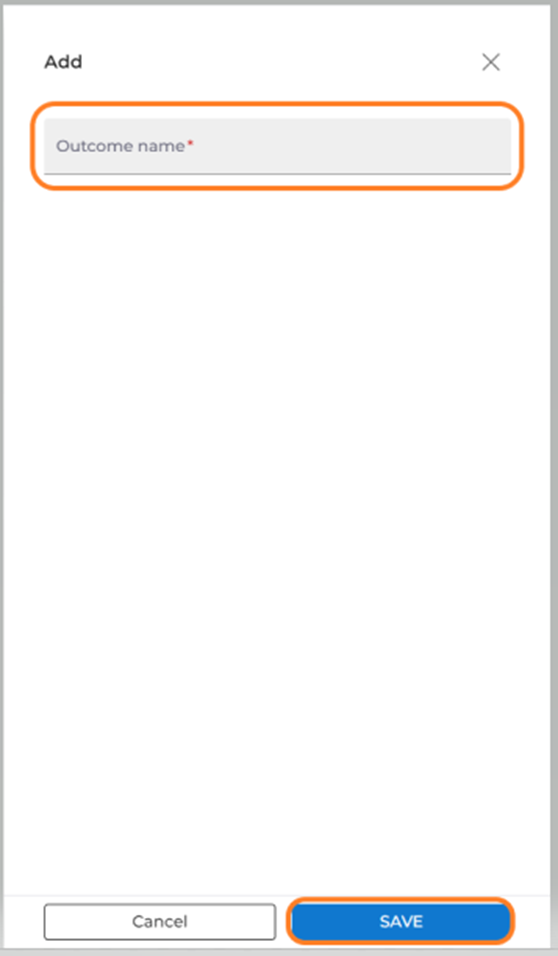
This will open a tray where you can add the name of the outcome and click ‘Save’ to save it.
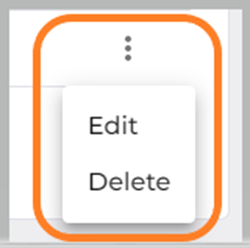
Each learning outcome added has ‘Edit’ and ‘Delete’ options to make any changes needed prior to export to Smart Assessor.
Assessment Criteria
Assessment criteria can be added to learning outcomes in exactly the same way that they are added for imported Qualifications.
Pathways
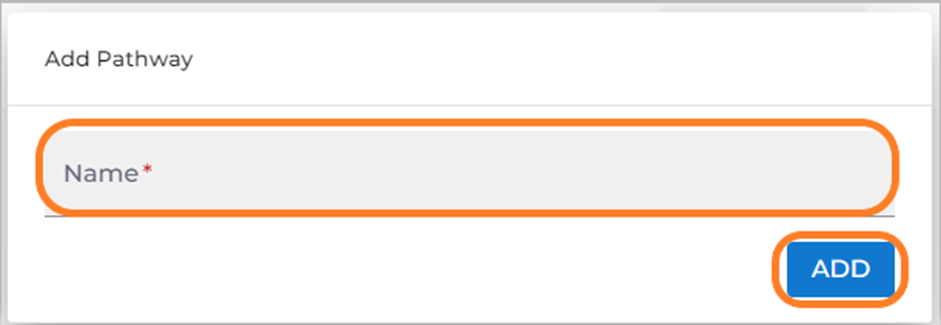
All custom Qualifications have a ‘Pathways’ tab to enable you to add pathways to the Qualification. Within the ‘Pathways’ tab, click ‘Add Pathway’. A modal will open where you add the pathway name and click ‘Add’.
The pathway is added to the Qualification and selecting the action menu next to the pathway will give you the options to ‘Edit’ or ‘Delete’ the pathway before the Qualification is exported to Smart Assessor.
Mark as Available to Learners
Before you can export the completed custom Qualification to Smart Assessor, you will need to move it out of the ‘Draft’ status. To do this, return to the ‘Details’ screen. At the top of the screen is a button ‘Mark as Available to Learners’.

Simply click this button to update the status to ‘Available to Learners’ and the Qualification will be ready to export. If you want to put the Qualification back into draft status, simply click the ‘Mark as Draft’ button which has now replaced the ‘Mark as Available to Learners’.

Export a Qualification to Smart Assessor
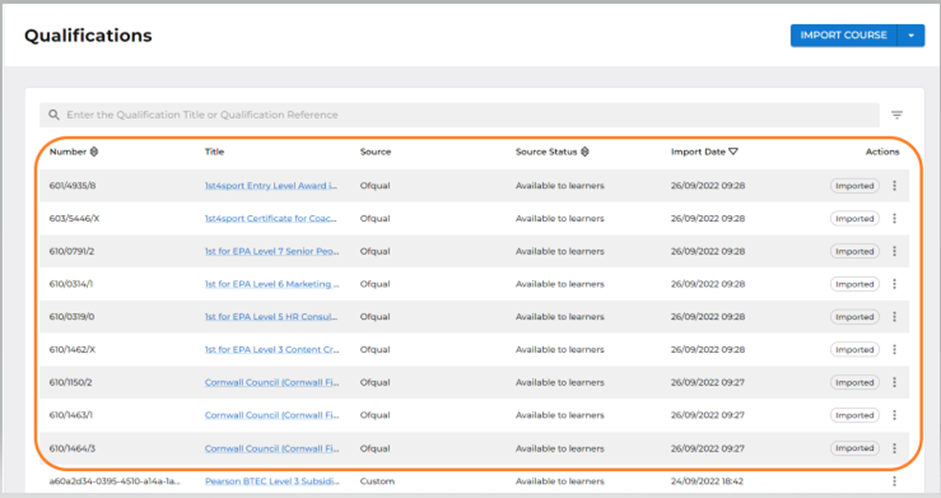
To export the Qualification to Smart Assessor, return to the list of Qualifications by using the back arrow that you’ll see at the top of the page.

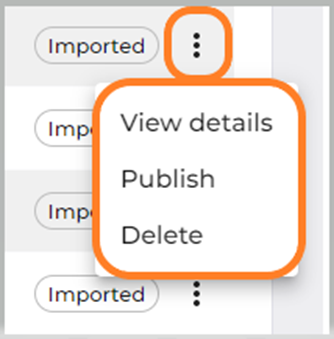
Then select the action menu of the imported Qualification that you want to export to Smart Assessor.
The Qualification will no longer display the ‘Imported’ chip which means that the Qualification has been successfully exported to Smart Assessor and you will be able to find it in the Smart Assessor Course Builder.
To delete a Qualification that has been imported into your tenant, select the delete option in the action menu. Qualifications that have been exported to Smart Assessor do not have this option and cannot be deleted. Once you have exported a Qualification to Smart Assessor, the only option in the action menu will be to ‘View Details’.
Publishing Multiple Standards or Qualifications
In the case where multiple Standards or Qualifications are imported, it is possible to export them all to Smart Assessor simultaneously.
To do this, select the ‘Import Course’ dropdown and choose the option ‘Publish All’.
There will be a confirmation message and upon confirmation, all imported courses will be exported to Smart Assessor.