Mapping Evidence to a Course

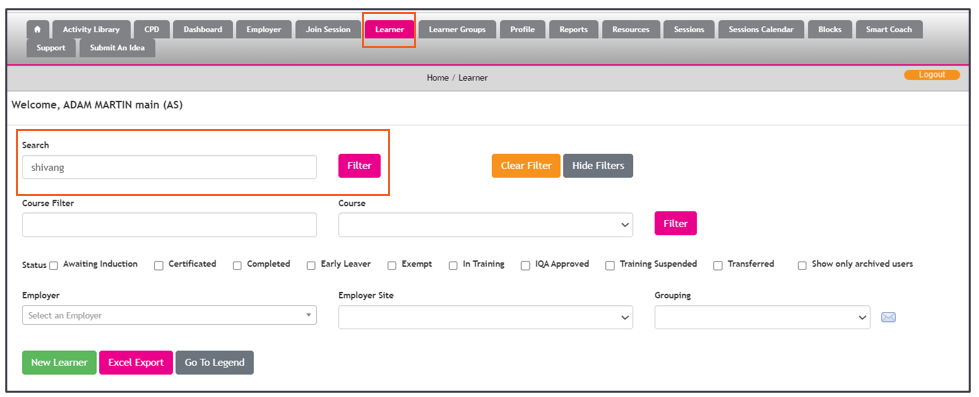
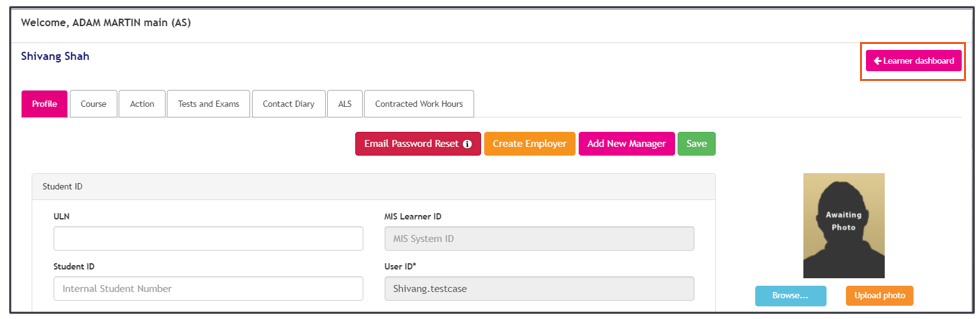
- Log in as an assessor, then filter the learners and click on the Learner dashboard.
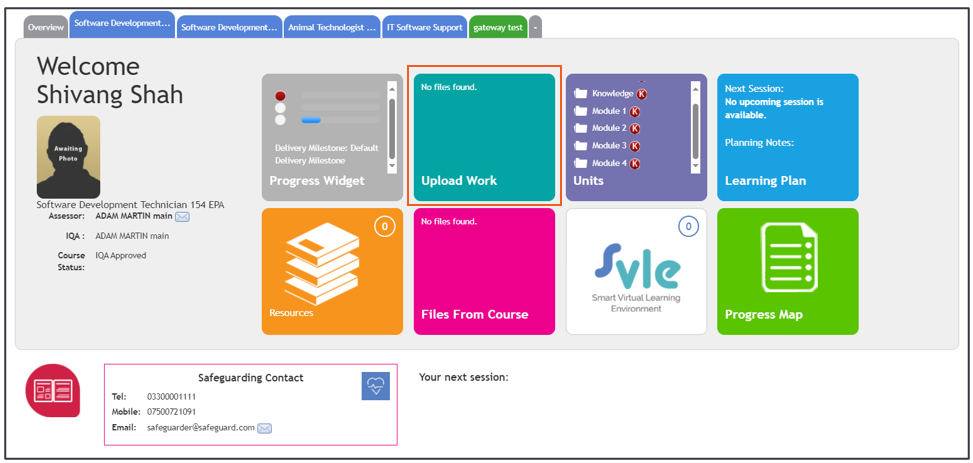
- Click on the Upload Work tab.
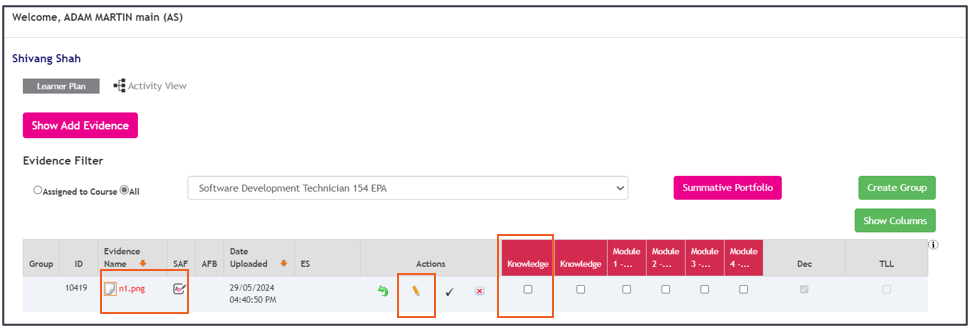
- The Evidence Library will display all evidence present within the portfolio. Evidence with red text indicates unmapped evidence. Select the unit(s) the evidence needs to be mapped against, and then select the black tick icon to apply the mappings.
- This will take you to the Evidence Mapping page, where you can add feedback, which will populate the Assessor Feedback box on the Evidence Description page for the selected piece of evidence.

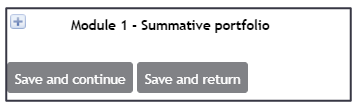
- To open each unit to display the criteria, click on + icon to open each unit, which will display all criteria within the unit.
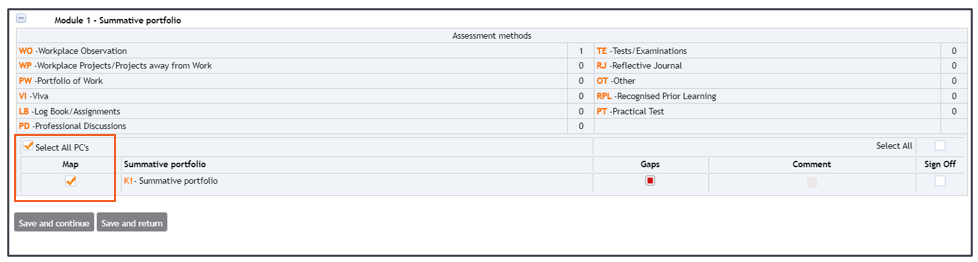
- Click on the left-hand side to map the evidence against the selected criteria. Assessor mappings display as orange ticks and contributes to orange progress bar.
Select one of the save options to apply those mappings:
Save and continue: saves the mappings and keeps you on the evidence mapping page.
Save and return : saves the mappings and returns you to the Evidence Library.
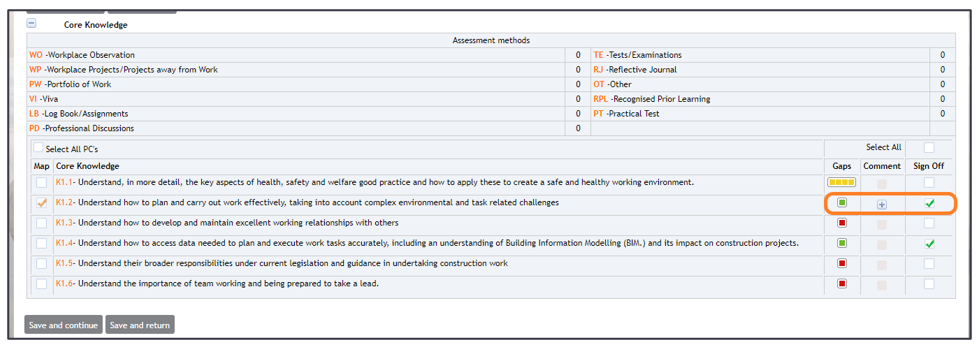
- Once the mappings are applied, blocks are added to the gap section to display how pieces of evidence have been mapped.
The Gaps indicate the following:
- Red- no evidence mapping
- Orange- evidence mapped to show learner is working towards completion of the criteria
- Green- Assessor final decision has been made and the criteria has been signed off as complete.

- To make a final assessment decision, click on the right-hand side and map criteria to show as fully completed, this contributes to green progress bar.
- For criteria that don’t require evidence mappings, double-click the right-hand side, and a green X will appear.
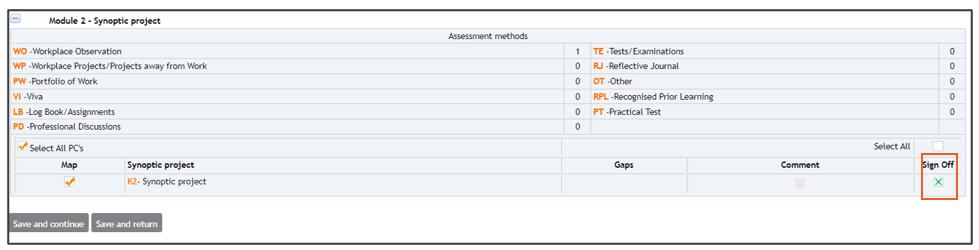
- Once you have applied all the mappings needed, select Save and return to save your changes and return to the Evidence Library.