Creating a Course Resource
OVERVIEW
As an Assessor or a Master Administrator, you can add a Resource to your Qualifications.
PREPARATION
You will need:
- the resource file/ URL/ form or VLE details
- a brief desxription of the resource
- the expected GLH a learner will spend on the resource
USER RESTRICTIONS
Users will need the following permissions to be able to view and use the above pages: -
- Assessor
- Master Administrator
DETAILS
- As an Assessor, login into Smart Assessor and click on the Resource tab.

- Alternatively, as a Master Administrator, select the Admin Tab, followed by the Qualification Tab and then select the Course Resources area.

- Select the course that you wish to add the resource to.

- You can choose the unit that the resource supports by clicking on the + symbol.

- Once selected, you can add a File (PDF, PowerPoint etc,) a link to a website, a form, or link to the VLE resource.

URLs can change over time. It may be better practice to download the content that you want to link to and upload that as a file.
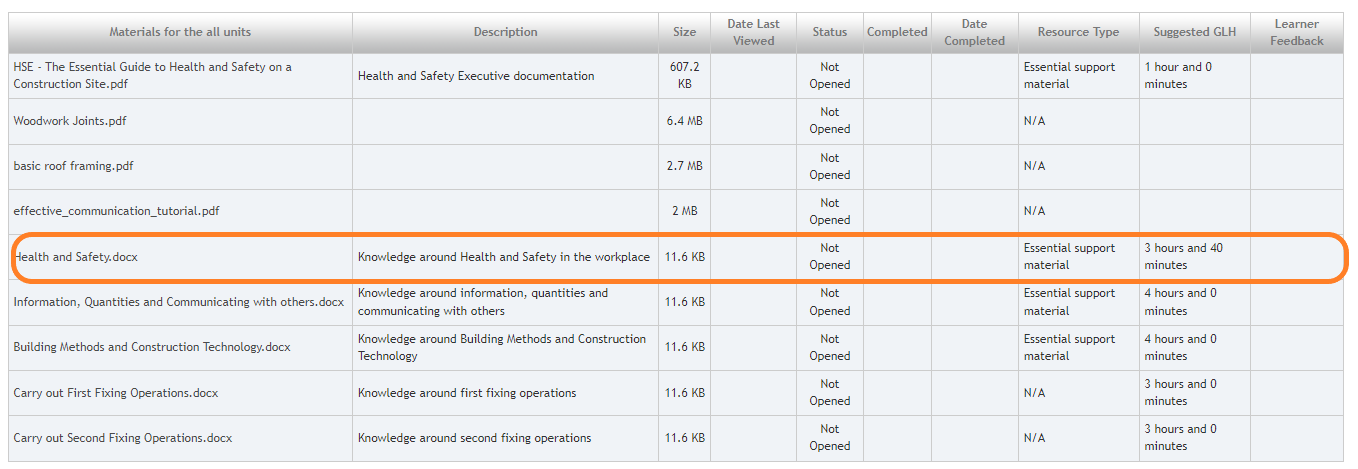
- Once the resource has been added, you can then fill in the relevant information boxes as shown in the example below. The GLH will be used to create a Timelog record when the learner completed the resource. Select the Upload or Add button to create the resource in Smart Assessor.

When the resource is added to the course it will be available to all learners currently registered to the course. If you have linked to a VLE resource, the link will be sent to all learners currently registered to the course and the resource will be assigned to them in Smart VLE.
- The resource will display in the Resource Library for that Course/ Unit. Here you can edit the details or delete the resource as required.

- The resource is now ready for the Learner to access.

