Mapping Group Folders
Smart Assessor provides the opportunity to map evidence at the group level, this guide provides guidance on how to successfully map evidence within a group.
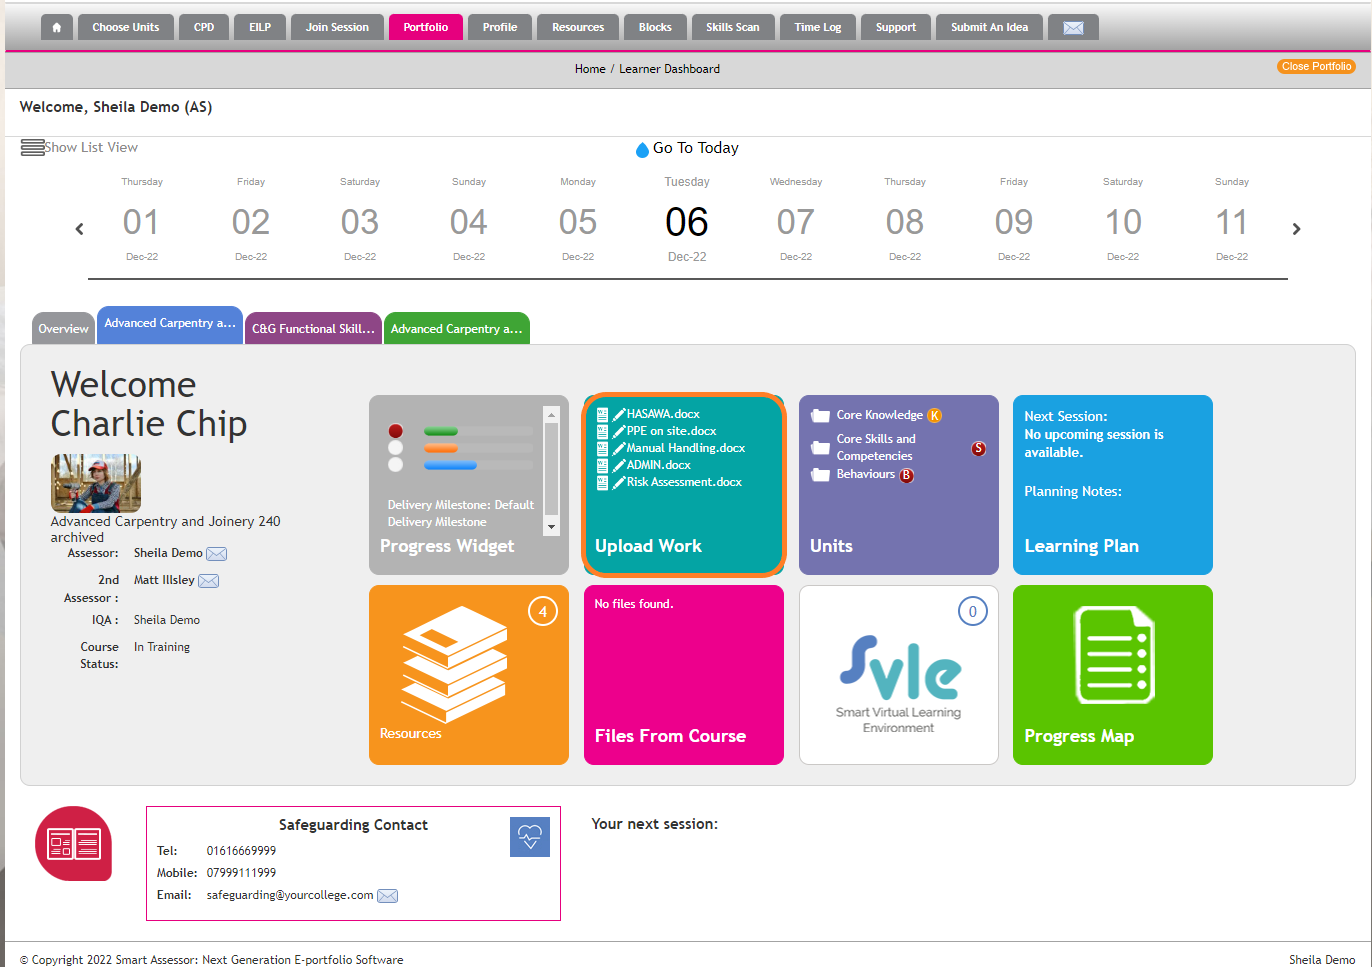
- Access the Learner's portfolio, navigate to the Learner’s course dashboard and click on the Upload Work tile to access the evidence library.
- Navigate to the Group folder that and select the unit(s) to be mapped to that Group, then click the grey tick to navigate to the mapping area.

- On the evidence mapping page, apply the relevant mapping for the content of that Group folder. The items of evidence that the mappings will be applied to will display at the top of the mappings page.
Select one of the save options to save those mappings:
Save and continue: saves the mappings and keeps you on the evidence mapping page.
Save and return: saves the mappings and returns you to the Evidence Library.
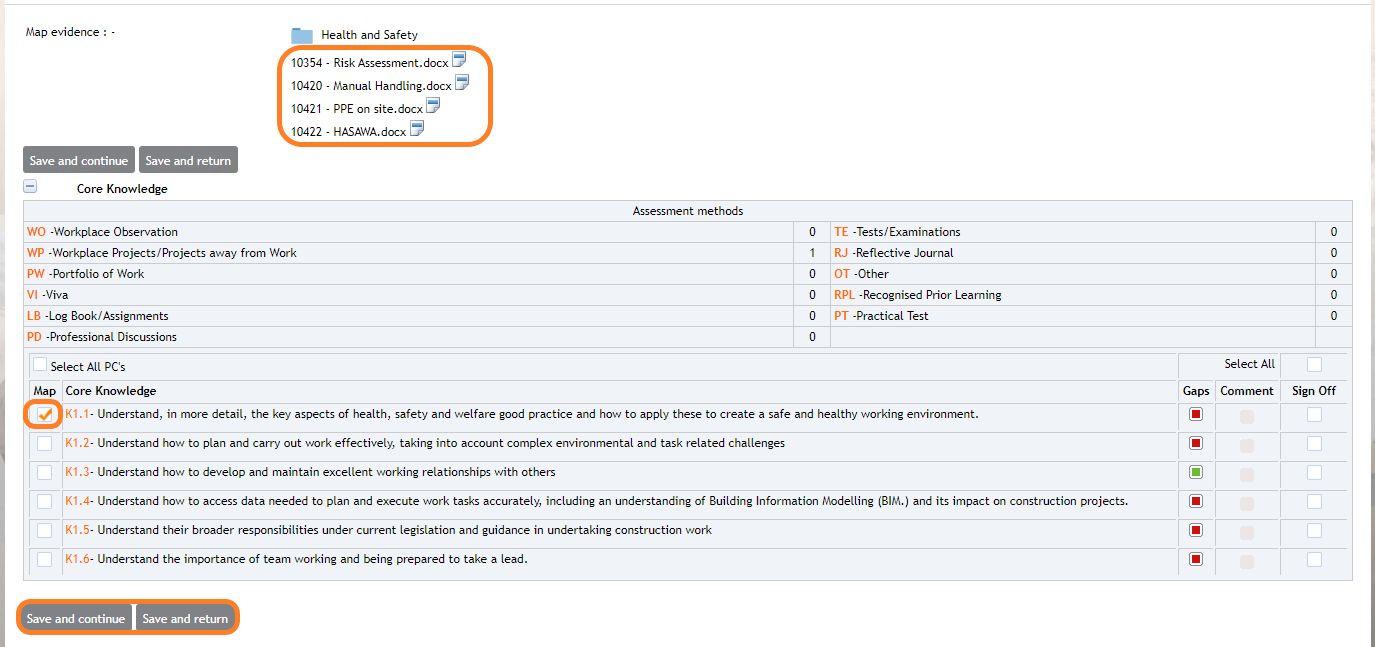
Please note: If a new piece of evidence is uploaded/ added to an existing Group folder, then it will not inherit any previously applied mappings but will reflect any future changes to the folder mapping.