EILP Template Builder
 Updated

EILP Template Builder
OVERVIEW
EILP Template Builder is available for Master Admin role to manage EILP Templates including;
- Create/Edit EILP Template
- Selecting built in custom areas/fields
- Managing signatures/comments
- Selecting a Monthly, Quarterly or Annual recurrence
- Activating/Deactivating a Template
PREPARATION
Login to access Smart Assessor as a Master Administrator
USER RESTRICTIONS
Master Admin Only
DETAILS
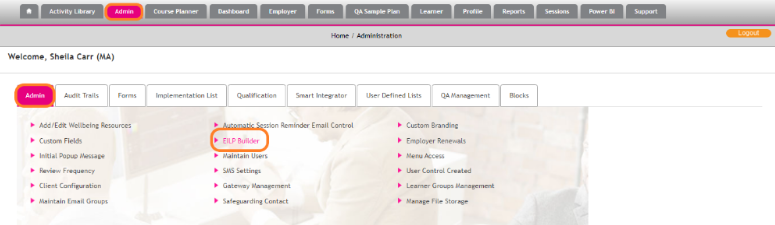
- Login as a Master Administrator and Navigate to the Admin Tab, Under the Admin Subheading and select the EILP Builder link
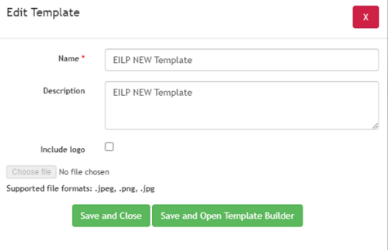
- On the EILP Builder Page, click on the Create a New Template Button (in green). Name the template a unique title that has not been used before and provide it with description then click on the Save and close option, or the Save and Open Template Builder.
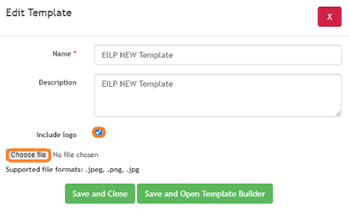
- In addition, you can upload a logo to the template by selecting the Include logo checkbox and clicking the Choose File button. You can the browse your computer for the required logo (accepted file types are .png; .jpeg and .jpg. To retain image quality, it is recommended that the height of the image does not exceed 150 px.)
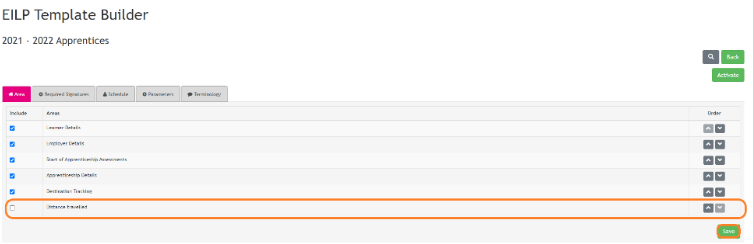
- In the Template Builder, the list of areas will display in a pre-set order that can be amended by using the order column and moving areas either up or down the list with the arrow icons.
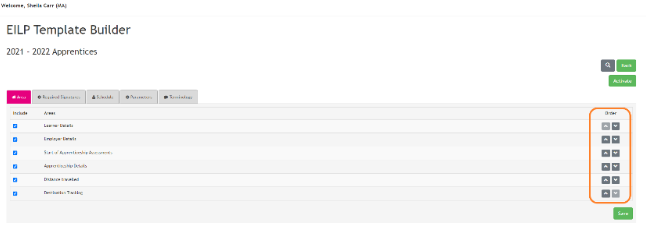
- If you deselect an area from the list and save the changes, it will automatically move to the bottom of the list and will not display when the template is used.
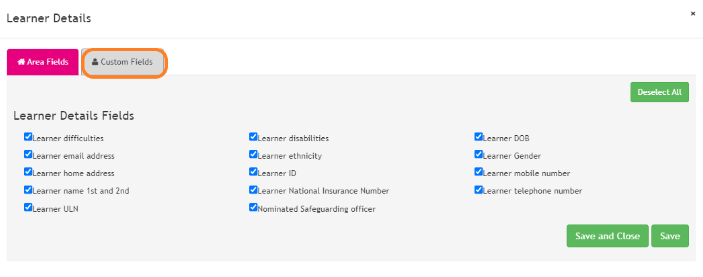
- If you select an Area by clicking on the area name, it will allow you to amend the fields from that area that pull through into the EILP form, all fields located within the area are selected by default. You can also create custom questions within the pop up that allows you to ask a question of choice by setting the question name and the question itself, these are active upon creation by default, however, can be edited and made inactive. The custom questions will then appear on the area fields with the pre-set fields that can be used in that area.
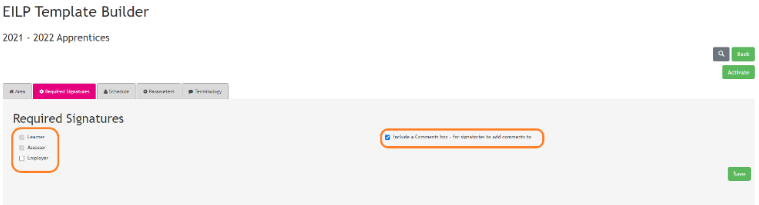
- The required signatures can be changed to not include the Employer Signature; however, the Assessor and Learner signatures are mandatory. You can also include a Comments box at the bottom of the page that allows for signatories to add comments to the EILP Signature they provide.
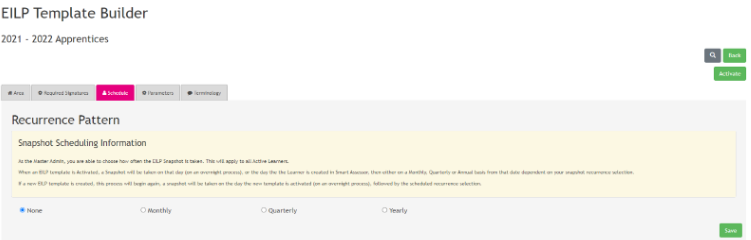
- The schedule settings allow selecting how often the EILP would need to be filled in again on a monthly, quarterly or yearly basis via a series of radio buttons
- The Parameters Tab allows you to select a Learner Type that this EILP will be activated against. Select the Learner Type from the drop-down list of available Learner Types.
Please Note: Selecting the SAVE button will save the EILP template and activate it for that learner type only. This allows you to use multiple templates to fit in with the different funding body requirements.
- Finally, you can create and edit terminology sets for use within your EILP Template by selecting the Terminology Tab.
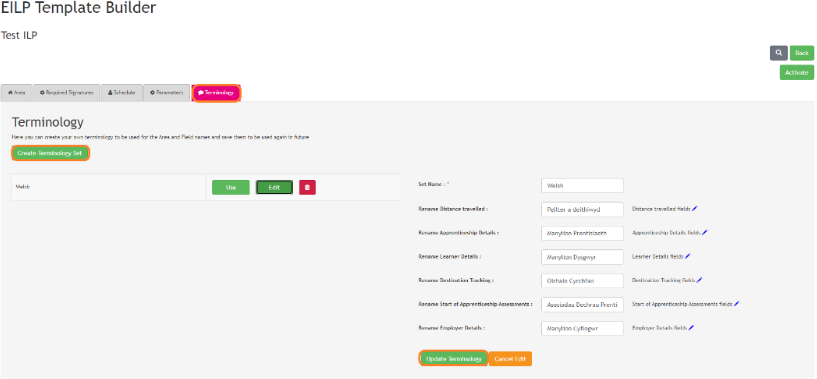
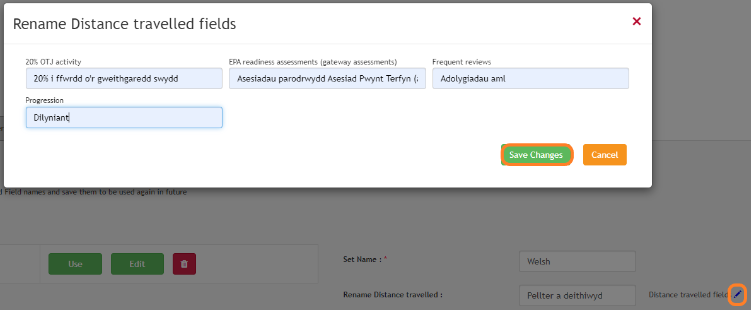
- Select Create Terminology set and give the Terminology set a name. You can then provide a for each section within the EILP. Select Update Terminology to save these headings. You can then update the terminology used for the sub-headings
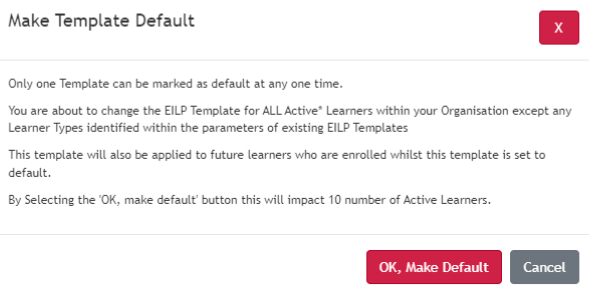
- Use the back button to navigate back to the EILP Builder where you can now make the template default to begin using the EILP Template. When made default, the template is set against all active learners and any new learners that become active within your site except any Learner Types identified within the Parameters of existing EILP Templates. This will also assign a copy of the form to all learners so that it can be used from today onwards with the schedule you set up being the next time it will send out to those learners.